
How to Winterize Your RV: A Step-by-Step Guide
As winter approaches, getting your RV ready for the cold is essential. Proper winterization not only keeps your RV in good shape but also helps you avoid costly repairs come spring. Whether you’re a veteran RV owner or just starting out, this guide will walk you through the steps to protect your investment. Here’s how to winterize your RV effectively.
Why Knowing How to Winterize Your RV Is Important
Winterizing your RV prevents damage from freezing temperatures. According to the RV Industry Association, up to 20% of RV owners face damage due to inadequate winterization each year. Water left in pipes, tanks, or appliances can freeze, expand, and lead to cracks or leaks. By taking these steps, you’ll ensure your RV is ready for the road when the weather warms up. Proper winterization saves you from headaches and repairs later on.
Step 1: How to Winterize Your RV’s Water System
Start by draining the water system. Empty the fresh water tank, gray water tank, and black water tank. Don’t forget to drain the hot water heater as well. Any leftover water can freeze and cause damage.
Step 2: Bypassing the Water Heater
Next, bypass the water heater to prevent antifreeze from entering it. Most RVs have a bypass valve for this purpose. If yours doesn’t, consider installing one to reduce the amount of antifreeze you need.
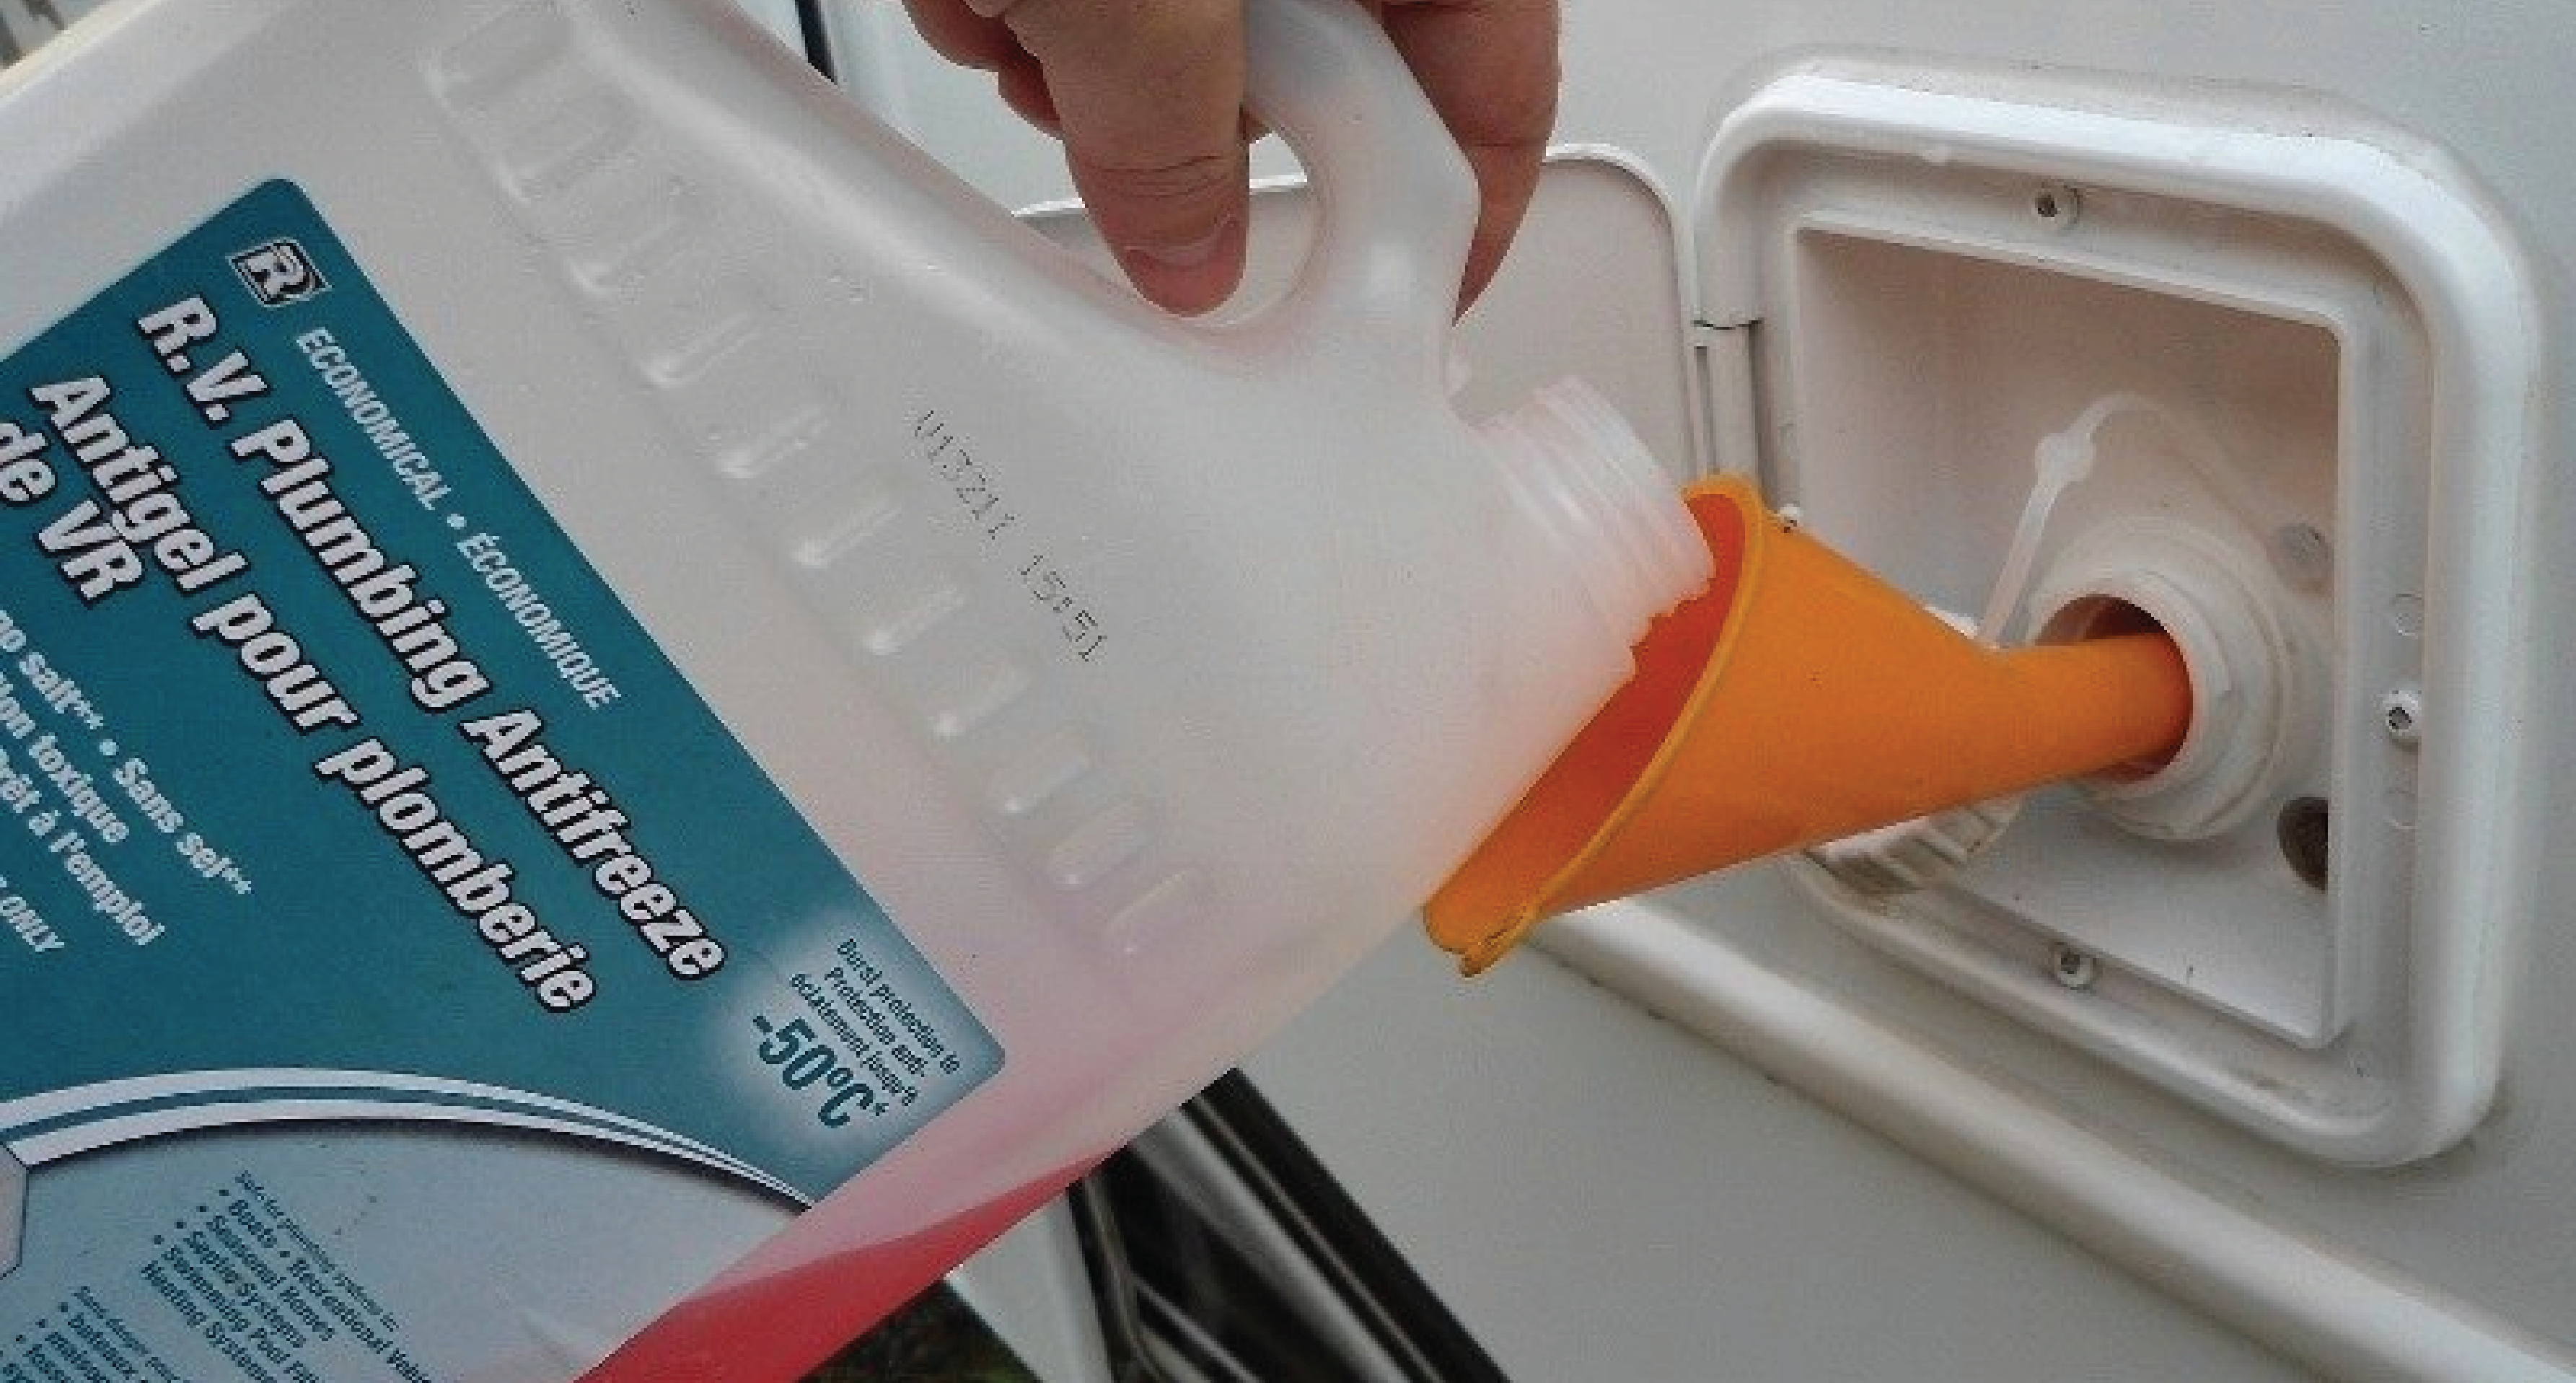
Step 3: Adding RV Antifreeze
With the water system drained, it’s time to add RV antifreeze. Connect the antifreeze to your water pump and turn it on to circulate the antifreeze through the water lines. Start with the faucets, then move to the shower, toilet, and any outdoor showers or spigots. Ensuring every part of the system gets antifreeze is crucial for effective winterization. We recommend WinterProof™ Water System Antifreeze, guaranteed to -50°C.
Step 4: Protecting Your RV’s Exterior
Don’t overlook the exterior. Clean and wax your RV to protect the paint. Cover vents, windows, and tires to shield them from snow, ice, and UV rays. Investing in protective coverings for vents and tires, will provide additional protection. If you’re storing your RV outside, consider a quality RV cover to protect from the elements.
Step 5: Storing Your RV for Winter
Finally, choose a safe storage location. Indoor, climate-controlled storage is ideal to protect your RV from extreme temperatures. If indoor storage isn’t possible, find a spot that offers some protection from the elements, like a carport or covered parking space. To secure your RV, use wheel chocks to prevent it from moving and consider placing mouse traps inside to keep pests at bay during the winter months. Proper storage is key to effective winterization.
Additional Tips for Winter RV Maintenance
- Check for leaks: Inspect the roof, windows, and doors for any leaks before storage. Addressing these issues can prevent water damage during winter.
- Remove perishable items: Take out any food or drinks that could freeze or spoil.
- Disconnect the battery: For long-term storage, disconnect the battery to prevent it from draining.
Conclusion: Mastering How to Winterize Your RV
Knowing how to winterize your RV is crucial for keeping it in top condition during the off-season. Follow this guide to ensure your RV is ready for spring adventures. Proper maintenance now will save you time and money down the road. For more RV maintenance tips, check out this guide from RV Life.
Looking for more? Sign up for our newsletter and flyers, or learn more about the products and services Northern Metalic offers. See our areas of specialization and find out what else we can do for you!